STEP ONE
|
|
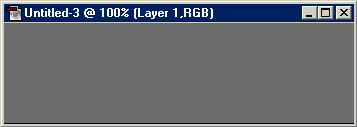
Start with a black background layer and create a new layer ( )
on this new layer, fill with a medium grey. )
on this new layer, fill with a medium grey.
|
STEP TWO
|
|
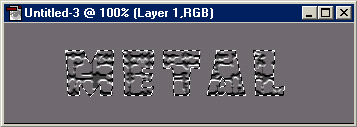
Select the type mask tool ( )
and click on the image, make the size around 60 and type in your text. Hit OK when done. )
and click on the image, make the size around 60 and type in your text. Hit OK when done.
With the selection still active, select FILTER > TEXTURE > CRAQUELURE with the following settings:
Crack Spacing = 15
Crack Depth = 6
Crack Brightness = 9
|
STEP THREE
|
|
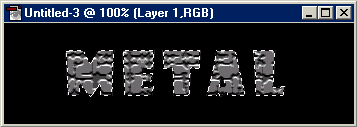
Press SHIFT + CTRL + I (or SELECT > INVERSE) to inverse selection and
press DELETE on your keyboard. Inverse the selection again so just the text is selected.
|
STEP FOUR
|
|
Select FILTER > ARTISTIC > UNDERPAINTING with the following settings:
Brush Size = 1
Texture Coverage = 10
Texture = Canvas
Scaling = 100%
Relief = 4
Light Direction = Top
|
STEP FIVE
|

|
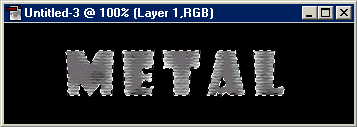
Now just add your screws or pop rivets and your done. This image has
the small screws with a 'pillow emboss' layer effect.
|