STEP ONE
|
|
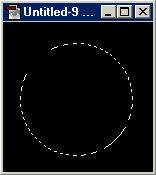
Start by adding a new layer ( ) and with the
elliptical marquee ( ) and with the
elliptical marquee ( ) hold SHIFT and drag a selection. ) hold SHIFT and drag a selection.
|
STEP TWO
|

|
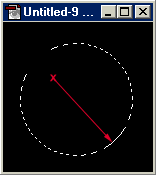
Choose a light grey for the foreground and a darker grey for the background colors. Select the Radial Gradient ( ) and click and drag as shown to the left.
You should have a gradient similar to bottom image. ) and click and drag as shown to the left.
You should have a gradient similar to bottom image.
|
STEP THREE
|
|
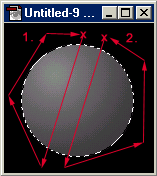
Select the polygonal lasso tool ( ) and while holding ALT take away the majority of the
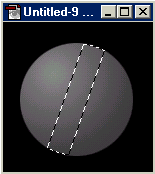
circlular marquee by following the 2 sequences to the left - click and start the process at the x and click at the end of each arrow (The last click of each is on the original 'x' to close the 'path'. Should be left with
similar to the bottom image. ) and while holding ALT take away the majority of the
circlular marquee by following the 2 sequences to the left - click and start the process at the x and click at the end of each arrow (The last click of each is on the original 'x' to close the 'path'. Should be left with
similar to the bottom image.
|
STEP FOUR
|
|
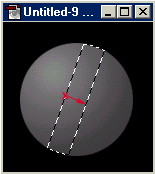
Grab the radial gradient ( ) and swap your grey foreground/background colors by pressing 'X'.
Click near the left of the selection and drag diagonally down and to the right to create another gradient. ) and swap your grey foreground/background colors by pressing 'X'.
Click near the left of the selection and drag diagonally down and to the right to create another gradient.
|
STEP FIVE
|
|
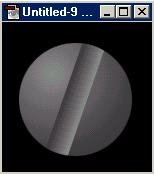
Press CTRL + D to kill the selection marquee. You can leave it like this or if you want a little more 'depth', go on to step six.
|
STEP SIX
|
|
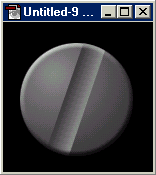
Select LAYERS > EFFECTS > BEVEL AND EMBOSS and make the desired settings. Mine was basically the default settings.
All you need to do now is resize to your liking and maybe rotate.
|


